A warm baked apple makes a rental kitchen feel useful, even when the oven is small and the equipment amounts to one dish and a blunt teaspoon. Oats turn the centre into a soft, buttery filling, while a little water in the pan keeps the fruit from drying out. You do not need a mixer, a special corer or a cupboard full of baking ingredients.
The trick is to treat the apple and its filling as two things that must soften together. Leave enough flesh around the hollow to hold the fruit upright, moisten the oats before packing them in, and judge doneness with a knife rather than by the colour of the topping.
Baked apples with oats: the basic recipe
This recipe makes two whole baked apples. Serve one each for a warm dessert, or add plain yoghurt for a simple breakfast. Choose apples of similar size so they finish cooking at roughly the same time.
Ingredients for two apples
- 2 medium, firm apples
- 4 tablespoons rolled oats
- 1 tablespoon soft butter, plus a little for the dish
- 1 tablespoon brown sugar, or less to taste
- 1/2 teaspoon ground cinnamon
- A small pinch of salt
- 1 tablespoon water for the filling
- About 4 tablespoons water for the baking dish, adding more if needed
- Optional: 1 tablespoon raisins or finely chopped walnuts
- Plain yoghurt, cream or milk, to serve if available
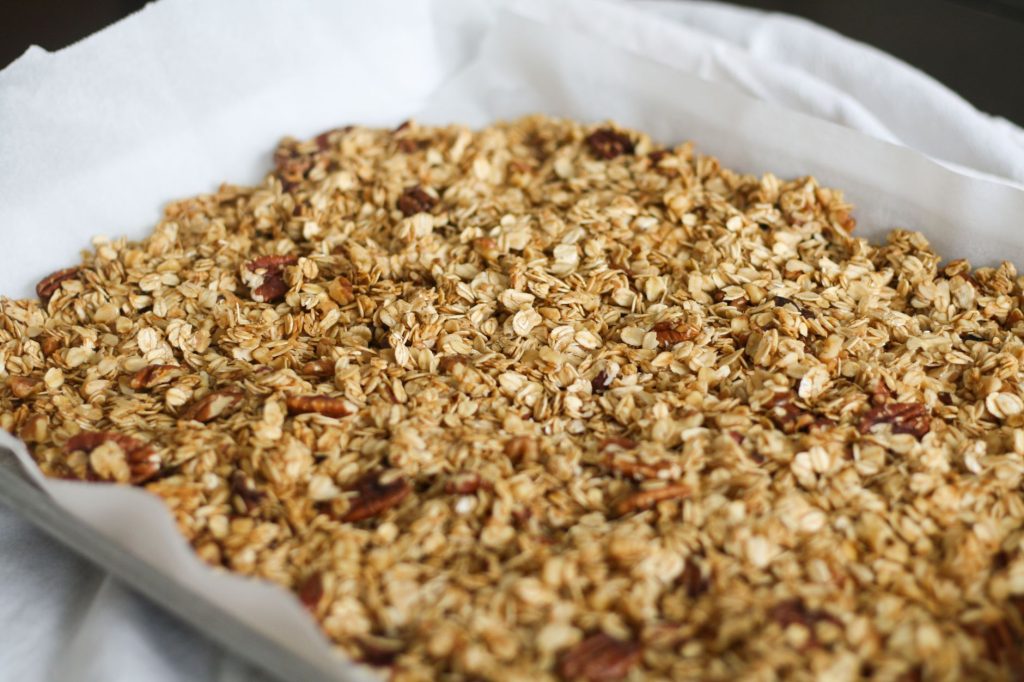
Ordinary rolled oats are the easiest choice here. Quick oats make a softer filling and can also work. Steel-cut oats need more liquid and cooking time, so save those for another meal. If you have oil instead of butter, use two teaspoons in the filling; it will taste less rich but still moisten the oats.
Check the oven and choose the pan
Before heating the oven, check that your dish fits with space around it and that the apples will clear the upper element. Use a shallow, ovenproof dish that holds them comfortably upright, with a small gap between them. A loaf tin can suit two apples; a small baking dish works well for a larger batch.
A very wide tray lets the water evaporate quickly. A deep pot can bring the tops too close to the heating element. Choose the smallest suitable dish without wedging the fruit tightly together. Use only cookware you can identify as ovenproof; a serving bowl is not automatically suitable.
Heat the oven to 180°C, or 160°C with a fan. Put the rack near the middle, adjusting it down if the apples would sit close to the upper element. Small ovens can brown food unevenly, so leave room to turn the dish during baking. If the oven has separate grill and bake settings, select bake.
Core the apples without cutting through the base
Wash and dry the apples, leaving the skins on to help contain the soft fruit. If an apple rocks badly, shave a very thin slice from the bottom to make a flat resting point. Avoid cutting far enough to expose the core underneath.
- Use a small knife to cut a circle around the stalk, keeping the blade angled slightly towards the centre.
- Lift out the stalk section, then scoop out the seeds and tough core with a teaspoon. Work in small scoops rather than forcing the spoon down.
- Leave roughly 1 centimetre of flesh at the base and a generous wall around the sides. The hollow should hold filling without turning the apple into a thin shell.
- Check inside for remaining seeds or hard pieces. Widen the opening slightly if necessary so you can fill it easily.
Keep the apple on a board when using the knife, with your free hand clear of the blade. An apple corer often removes a cylinder right through the fruit, which lets the filling escape. If that is your only tool, stop before reaching the bottom and use a spoon to finish.
If you accidentally make a hole, place the apple snugly in the dish and continue. Some buttery juices may leak out, but you can spoon them over the fruit when serving.
Mix, fill and bake
Mix the oats, butter, sugar, cinnamon and salt with a fork. Stir in the tablespoon of water and any raisins or walnuts. The mixture should look damp and clumpy, with no large lump of butter left. This little splash of water helps the oats soften inside the apple.
Lightly butter the dish and stand the apples inside. Spoon the filling into the hollows, pressing gently to close large gaps. Do not ram it down firmly: a tightly compressed centre takes longer to soften. Leave a small mound at the top. If your apples have narrow cores, scatter any extra filling around their bases, where it can absorb the pan juices.
Pour the remaining water into the dish around the apples, not over the topping. It should form a shallow layer across the bottom. Loosely cover the dish with foil, keeping it clear of the oven elements, and bake for 25 minutes. Remove the foil carefully, allowing hot steam to escape away from your hands.
Continue baking uncovered for about 15–30 minutes, checking earlier for small apples. Turn the dish if one side is browning faster. These timings are a starting point: apple variety, size and the behaviour of the rental oven all affect the result.
How to tell when the apples are ready
Slide a small knife into the flesh near the widest part, avoiding the hollow centre. It should enter with little resistance. Check both apples, especially if they differ in size. The skin may wrinkle or split slightly, and the filling should be moist and soft beneath its lightly browned surface.
If the topping looks ready but the flesh is still firm, cover loosely again and continue baking in short intervals. If the dish has dried out, carefully add a splash of hot water beside the apples. Avoid pouring cold water into a hot glass or ceramic dish because sudden temperature changes can damage it.
For apples that are tender but pale on top, simply serve them as they are. A browned crust is optional. Let them stand for 5–10 minutes before eating; the centre can stay very hot. Spoon the pan juices over each apple and add yoghurt or cream at the table.
Scale the recipe to suit your kitchen
For each medium apple, allow two tablespoons of oats, half a tablespoon each of butter and sugar, a quarter teaspoon of cinnamon and half a tablespoon of water in the filling. Adjust sweetness to suit the fruit. For one apple, use a small ovenproof dish so the surrounding liquid does not disappear too quickly.
For four apples, double the filling and choose a dish that holds them in one layer. Add enough water to cover the bottom shallowly rather than automatically doubling the pan water. More apples do not mean twice the baking time, but a crowded dish may cook less evenly. Check each apple individually and remove any that soften first.
A saucepan alternative when the oven is awkward
For a hob version, halve and core the apples instead of hollowing them whole. Put them cut-side up in a saucepan that holds them in one layer. Mix the same oat filling and divide it over the cut surfaces, keeping it mostly in the hollows.
Add water around the fruit to a depth of about half a centimetre. Cover with a lid and bring to a gentle simmer, then reduce the heat. Cook gently for about 15–25 minutes, checking the water level and testing the flesh with a knife. Add a little hot water if the pan starts to dry out.
The saucepan version gives you soft apples and a steamed oat topping, without a browned surface. Lift the halves out with a broad spoon and pour over a little of the cooking liquid. It is a useful option when the rental oven is too cramped, the controls are unclear, or you simply want dessert without heating it up.