Here’s a number that shocked me: over 80% of people who start the Pacific Crest Trail don’t finish. Not because they’re weak or unprepared in the usual sense. They quit because of three things I see repeated every year — bad gear choices, wrong timing, and treating the desert like a casual walk. I’ve done the full 2,650 miles and helped a dozen friends prep for their own hikes. This guide is what I wish someone had handed me before I started.
The One Planning Mistake That Derails Most Beginners
You’d think the hardest part of planning is the gear. It’s not. It’s the permits and the calendar. The PCTA releases a limited number of long-distance permits starting in November for the following year. They’re gone in hours. If you miss that window, you’re stuck with section permits or a 2027 start.
Why March 1 is the Wrong Start Date
Everyone romanticizes a March start. The desert is mild, right? Wrong. March in the Southern California desert means snow at elevation and freezing nights. I started April 15 and still hit 90°F by 10 AM in the low desert. The sweet spot is mid-April to early May for a northbound hike. You miss the worst snow in the Sierra and dodge the July heat in the desert. The PCTA permit calendar confirms this — most successful northbounders start between April 15 and May 1.
How to Actually Get a Permit
Set an alarm for the second Tuesday of November at 10:30 AM Pacific. Have your start date and exit points ready. The PCTA website will lag and crash. Keep refreshing. If you get a 2026 permit for a start date between April 15 and May 1, you’re golden. If you only get a section permit, start at Campo and hike to Kennedy Meadows South — that’s 702 miles of desert that teaches you .
Gear Weight: The Single Biggest Factor in Finishing
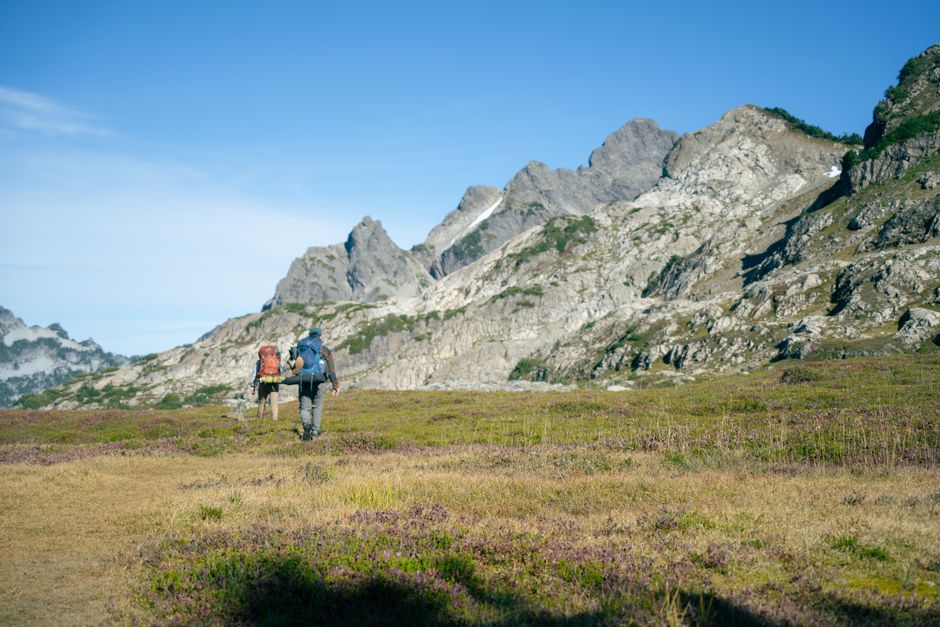
I carried a 45-pound pack on day one. By day 30, I’d mailed home 12 pounds of stuff I never used. Your base weight — everything except food and water — should be under 20 pounds. Under 15 is better. Here’s where beginners blow it.
| Item | What Beginners Bring | What Works | Weight Savings |
|---|---|---|---|
| Backpack | REI Co-op Flash 55 (3 lbs 5 oz) | Zpacks Arc Haul Ultra (1 lb 6 oz) | ~2 lbs |
| Tent | MSR Hubba Hubba (3 lbs 12 oz) | Zpacks Duplex (1 lb 4 oz) | ~2.5 lbs |
| Sleeping Bag | Synthetic 20° bag (3 lbs 8 oz) | Enlightened Equipment Enigma 20° Quilt (1 lb 2 oz) | ~2.4 lbs |
| Water Filter | Katadyn BeFree (1.5 oz) | Sawyer Squeeze (3 oz) | +1.5 oz (but more reliable) |
| Stove | MSR PocketRocket 2 (3 oz) | BRS-3000T (0.9 oz) | ~2 oz |
The Zpacks Duplex is expensive at $700, but it’s the standard for a reason. If you can’t afford it, the REI Quarter Dome SL 1 at $329 and 2 lbs 5 oz is a solid compromise. Don’t buy a 5-pound tent. Just don’t.
Water in the Desert: The Mistake That Lands People in the ER
The Southern California desert section — the first 700 miles — has stretches where you carry up to 6 liters of water. That’s 12 pounds of water alone. Beginners underestimate this constantly. I’ve seen people pass out from heat exhaustion at mile 50 because they only packed 2 liters for a 20-mile dry stretch.
Know the Water Caches
The PCTA maintains official water caches at specific locations. The Guthook Guides app (now FarOut) shows every cache, spring, and stream with user updates. Check it daily. A cache that was full three days ago might be empty today. Always carry a backup liter beyond what you think you need. The rule: if the next water source is 15 miles away, carry 4 liters minimum. At 20 miles, carry 6 liters. Your pack will be heavy. Deal with it.
When to Hike and When to Stop
Start hiking by 5:30 AM in the desert. By 11 AM, you should be in shade or stopped. Resume at 4 PM. This isn’t optional. I hiked through one afternoon in June and hit 108°F. My Sawyer filter froze from the heat — the water coming out was hot enough to burn my mouth. Stop, find a dry creek bed or a bush, and wait. Your hike can wait. Your kidneys can’t.
Food Resupply: The System That Works
You can’t carry 5 months of food. You resupply every 4-7 days at trail towns. Beginners either overbuy at the start or trust that every store will have what they need. Neither works.
The Bounce Box Strategy
Send yourself a box of resupply staples to Kennedy Meadows South (mile 702). That’s where the Sierra starts. Include: 5 days of Mountain House freeze-dried meals ($8 each), a fresh Sawyer filter, 2 pairs of Darn Tough socks ($25 each), and a new fuel canister. The store at Kennedy Meadows is expensive and often sold out of critical items. I learned this the hard way — I paid $12 for a single fuel canister that costs $4 at REI.
What to Eat on Trail
Don’t overthink this. Your body needs 4,000-6,000 calories per day. You won’t hit that, but try. My daily food bag weighed 2 pounds and contained: 2 tortillas with peanut butter, 1 pack of instant oatmeal, 1 Snickers bar, 1 bag of Fritos, 1 Mountain House meal, and electrolyte powder. Cost: about $12 per day. If you’re vegan, swap the Mountain House for Knorr pasta sides and add olive oil for calories. The oil is cheap and adds 120 calories per tablespoon.
Foot Care: The Thing Nobody Talks About Until It’s Too Late
Blisters end more hikes than bears do. I had 14 blisters by mile 300 on my first attempt. I quit at mile 400. On my second attempt, I fixed my foot care and finished in 5 months. Here’s what changed.
First, don’t wear waterproof boots. They trap sweat and create blisters. Wear trail runners — the Hoka Speedgoat 5 ($155) or Altra Lone Peak 7 ($150). They dry fast and let your feet breathe. Second, change socks at lunch. Carry 3 pairs of Darn Tough micro crew cushion socks. Rotate them. Wash one pair in a stream and let it dry on your pack while you hike. Third, use Leukotape P on hot spots the second you feel them. Not after. The tape stays on for days and prevents blisters from forming. A roll costs $8 and lasts the whole trail.
If you already have blisters, pop them with a sterilized needle, drain the fluid, leave the skin intact, and cover with moleskin. Do not peel the skin off. That’s how you get infections that require a trip to a clinic in Bishop, California — a $200 copay you don’t want.
The Sierra Snow: When to Skip It and When to Go
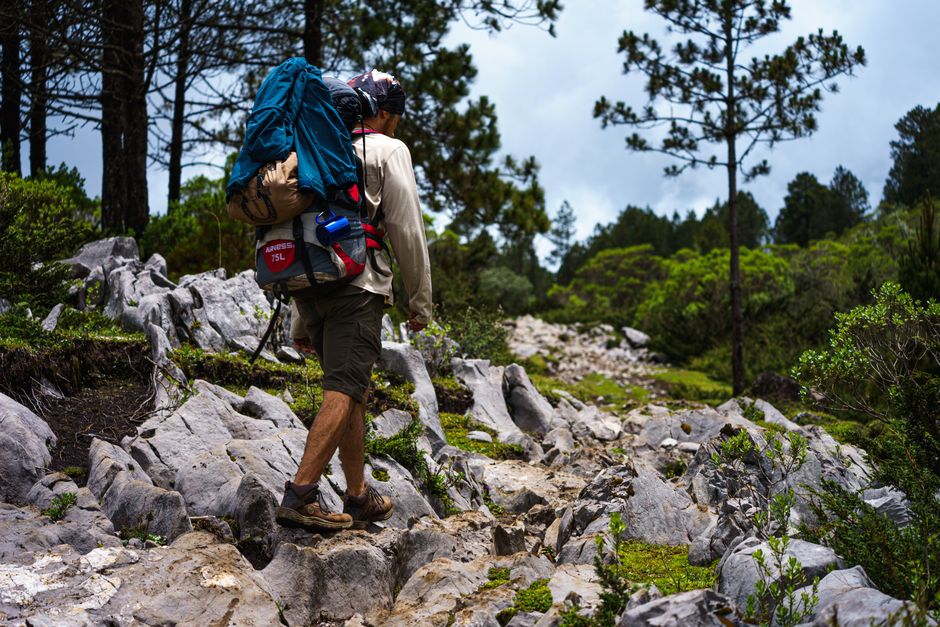
The Sierra Nevada section — from Kennedy Meadows South to Sonora Pass — is 400 miles of alpine terrain. In a high snow year, it’s dangerous for beginners. In a low snow year, it’s a beautiful walk. Check the snowpack report from the California Department of Water Resources in March. If the snowpack is above 120% of normal, consider starting later or flipping north to skip the Sierra entirely.
I hiked through in a 90% snow year and needed microspikes and an ice axe for 200 miles. The Kahtoola KTS Steel Microspikes ($70) and a Black Diamond Raven Pro ice axe ($100) were mandatory. If you don’t know how to self-arrest with an ice axe, take a class at REI before you go. A slip on a steep snow slope at 11,000 feet means a slide that ends in rocks or a lake. I watched someone do it. They broke an ankle and had to be helicoptered out — a $30,000 bill their insurance didn’t fully cover.
If the snow is high, flip to the Oregon section and hike southbound from the Columbia River. You’ll hit the Sierra in August when the snow is gone. The PCTA allows permit holders to change direction with notice. Do it. There’s no shame in skipping dangerous terrain. The trail will still be there next year.